Create a new crawler
DocSearch apps created after July 2, 2024 can use the Algolia Crawler UI to set up and manage crawls. This guide covers adding your domain, verifying ownership, creating a crawler, and running your first test crawl. Open the Crawler UI at dashboard.algolia.com/crawler.
If you signed up before July 2, 2024, you can still use the Crawler UI, but creating and managing a crawler is more streamlined for users who joined after that date.
Learn more about the Crawler interface.
Add domains
- Sign in to the Algolia dashboard.
- In the left sidebar, select Data sources.
- Select Crawler:
- Click Add your domain and enter the domains or subdomains you want to crawl (e.g.,
example.com,www.example.com). - If you’ve already added a domain, click the Domains tab.
- Click Add your domain and enter the domains or subdomains you want to crawl (e.g.,
- Click Add domain.
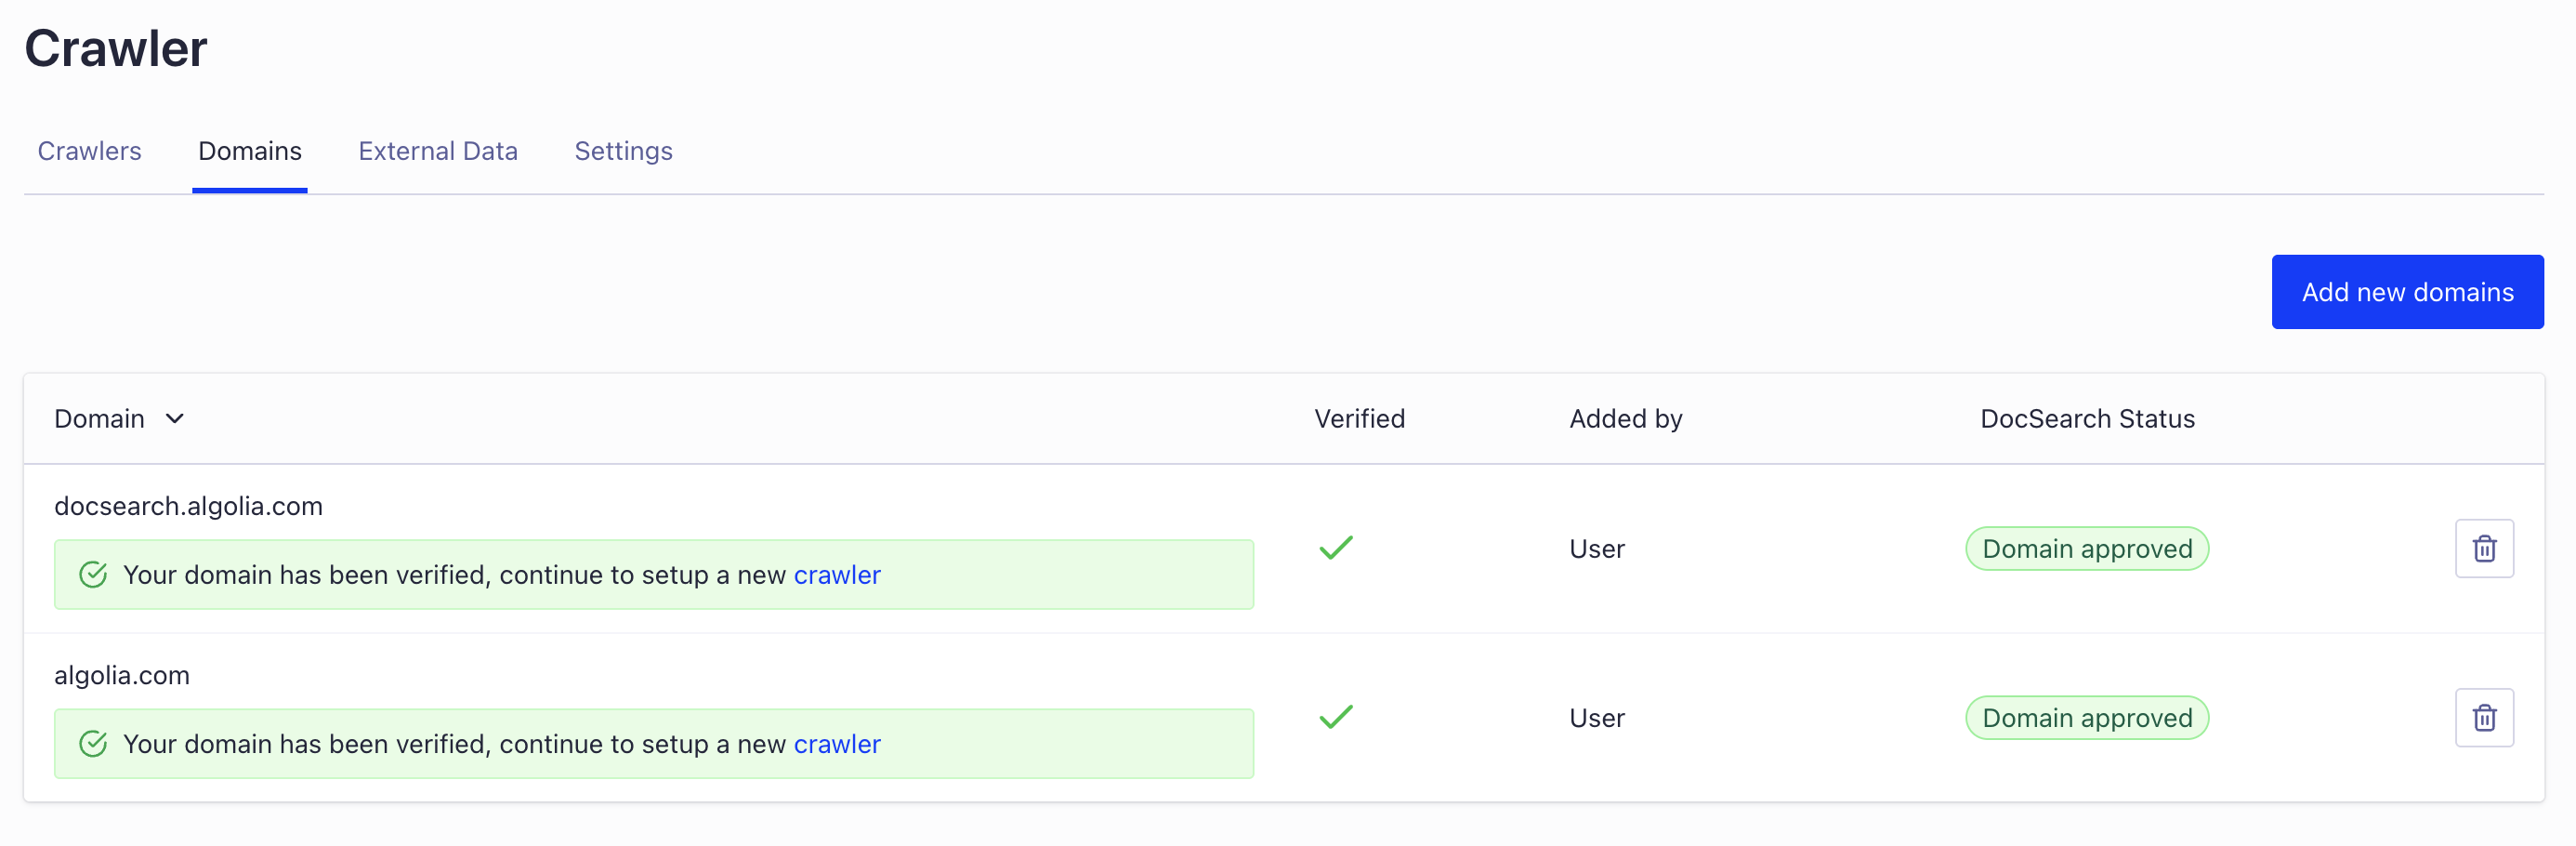
Note: Verify your domain within 7 days of adding it. The DocSearch team must also approve the domain before you can crawl it.
Verify your domain
You must verify ownership of each domain you want to crawl. The default method is email verification, but you can also use a meta tag, HTML file, robots.txt, or DNS record.
Meta tag
- In the Meta tag tab, click Copy to copy the verification tag.
- Add the tag to your site's
<head>section. - Publish your site and click Verify now in the Crawler dashboard.
HTML file
- In the HTML file tab, click Copy to copy the verification file content.
- Save it as a new HTML file and upload it to your web server.
- Add the file’s URL in the dashboard and click Verify now.
robots.txt
- In the Robots.txt tab, click Copy to copy the verification code.
- Paste it into your site's
robots.txtfile. - Publish and click Verify now.
DNS
- In the DNS tab, copy the provided DNS TXT record.
- Add it to your DNS provider’s settings.
- Click Verify now after the record propagates (may take up to 72 hours).
Create a new crawler
After you verify your domain and the DocSearch team approves it:
- Go to the Crawler page in the dashboard.
- Click New Crawler and fill in:
- Crawler name (descriptive)
- App ID (your Algolia application ID)
- Start URL (usually your home page)
- Crawler template (choose a template or default)
- Click Create to finish and run a test crawl.
Run the test crawl
The initial crawl visits up to 100 URLs to test access and extraction. Monitor its progress on the Overview page. After it finishes, review the extracted records in the Algolia dashboard.
Creating a crawler doesn't install or select a DocSearch frontend version. After indexing, choose a DocSearch v5 package or framework integration.
Next steps
- Edit your crawler configuration for scheduled crawls, inclusion/exclusion rules, and extraction settings.
- Use the Crawler’s suggestions for further optimization.
- For more details, see the Algolia Crawler documentation.